NEW USER
Autodesk Partner
Certified Reseller


Getting Started
QARC4Revit is a toolbox that advances your practice’s design and documentation ability. It delivers a template and content inside Revit with world-first technology and cloud integration. It suits small to medium sized buildings as shipped, being A3 sheets. It can help any sized practice.
If you obtained EXPLORER, you have access to our free intro Template, Content and BIMLocker.
The QARC Browser includes Manufacturers.
If not already, consider becoming a paid subscriber, and use our industry best ARChetype Template System, Premium content and BIMLocker. Go here to purchase. Or click on Store in the QARC ribbon. If you purchase, that product is added to your entitlements automatically, as your login email address links it all.
QARC4Revit is constantly being updated, so your practice remains at the forefront of the industry. You will occasionally be notified of these updates. Software updates are announced as Revit opens and closes, with content news via our blog.
A short introduction.
Click on QARC in the menu ribbon.

The version discussed here is for Premium. Free only has access to New, Browser and the Support section. You can rearrange the ribbon by dragging the boxes around.
1. Manage Licencing
The Manage button allows the administrator of the QARC4Revit account to allocate seats to users. Any receiver of a seat under your license should navigate to the QARC Systems website and install the plug-in. QARC Systems requires details of all end users and ideally their AUTODESK A360 account numbers for seat registration. The system is functional only to anyone who registers.
2. New
You can start a new project by clicking “New” in the menu ribbon, which brings the ARChetype to your computer. This takes some minutes being over 25Mb. You are initially prompted to name and save your file locally. Then insert (or Drag+Drop) your Titleblocks into your project. In the message pop up, click “do this for all families” and then “Overwrite the existing version and it’s parameter values”. Your custom Titleblocks will load ready for use.
3. Companion
This button brings up the Companion in pdf format as a separate window. The companion contains everything you need to know about how to use the QARC4Revit plug-in. It is the backup to the green notes contained on each sheet which are sufficient to get you up and running instantly. However for further in-depth knowledge, the Companion is your go to guide for all QARC operations.
4. Checklists
Another pdf document. Ensure your documentation is complete using these checklists. Made for Australian documentation standards, these lists remind you of what information is necessary for each sheet of documentation. This is perfect for your new staff to ensure they are aware of what is required, and great to free up your time instructing them or marking up unnecessarily!
5. Tutorials
The button takes you to the Training page on this QARC Systems website. Here you have access to two hours of instructional videos, in over thirty videos. We recommend you look at these.
6. Tips & Tricks
Another pdf document. We give you quite a few tips on how to use Revit, with QARC4Revit as the example. You can also see them on this website here.
7. Browser
The Browser button becomes activated when a project is opened. This button gives you access to your subscription level of content located in the cloud. This window can be docked in exactly the same way as the Project Browser and Properties windows, and can even be overlaid on either with a tab system. Simply select Families and System Families from drop down folders and then Drag+Drop the desired item into your project. System Family insertion will prompt Revit to start sketching the element. All objects bring with them BIM information and materials for ease of scheduling and rendering. Please note the loading of the object can take a few seconds, and it is best to wait otherwise Revit can get upset.
8. Auxiliary Content
Clicking this button brings a project file to screen. It takes a short time being 20Mb. The Auxiliary file is a farm of items that the Browser cannot host as yet. It also contains useful assemblies. Copy to Clipboard items in the farm, and Paste into your project. Items like Line Styles are brought in by Copy and Pasting drafting views.
9. Manage BIMLocker
This button brings up the managing portal for your version of BIMLocker. BIMLocker is your own content library, using our unique QARC Content Browser technology.
PERSONAL is designed for individual users. There are versions for bigger practices, WORKGROUP & ENTERPRISE.
10. Support
The Webpage button is self-explanatory. The Email Support button will begin an email dialogue box within your default email program. This email will be directed to our support team for any concerns you may experience with our software. Please note we don’t offer advice on using Revit, the program. Store button takes you to the POS (Point of Sale).
Click on QARC in the menu ribbon.

The version discussed here is for Premium. Free only has access to New, Browser and the Support section. You can rearrange the ribbon by dragging the boxes around.
1. Manage Licencing
The Manage button allows the administrator of the QARC4Revit account to allocate seats to users. Any receiver of a seat under your license should navigate to the QARC Systems website and install the plug-in. QARC Systems requires details of all end users and ideally their AUTODESK A360 account numbers for seat registration. The system is functional only to anyone who registers.
2. New
You can start a new project by clicking “New” in the menu ribbon, which brings the ARChetype to your computer. This takes some minutes being over 25Mb. You are initially prompted to name and save your file locally. Then insert (or Drag+Drop) your Titleblocks into your project. In the message pop up, click “do this for all families” and then “Overwrite the existing version and it’s parameter values”. Your custom Titleblocks will load ready for use.
3. Companion
This button brings up the Companion in pdf format as a separate window. The companion contains everything you need to know about how to use the QARC4Revit plug-in. It is the backup to the green notes contained on each sheet which are sufficient to get you up and running instantly. However for further in-depth knowledge, the Companion is your go to guide for all QARC operations.
4. Checklists
Another pdf document. Ensure your documentation is complete using these checklists. Made for Australian documentation standards, these lists remind you of what information is necessary for each sheet of documentation. This is perfect for your new staff to ensure they are aware of what is required, and great to free up your time instructing them or marking up unnecessarily!
5. Tutorials
The button takes you to the Training page on this QARC Systems website. Here you have access to two hours of instructional videos, in over thirty videos. We recommend you look at these.
6. Tips & Tricks
Another pdf document. We give you quite a few tips on how to use Revit, with QARC4Revit as the example. You can also see them on this website here.
7. Browser
The Browser button becomes activated when a project is opened. This button gives you access to your subscription level of content located in the cloud. This window can be docked in exactly the same way as the Project Browser and Properties windows, and can even be overlaid on either with a tab system. Simply select Families and System Families from drop down folders and then Drag+Drop the desired item into your project. System Family insertion will prompt Revit to start sketching the element. All objects bring with them BIM information and materials for ease of scheduling and rendering. Please note the loading of the object can take a few seconds, and it is best to wait otherwise Revit can get upset.
8. Auxiliary Content
Clicking this button brings a project file to screen. It takes a short time being 20Mb. The Auxiliary file is a farm of items that the Browser cannot host as yet. It also contains useful assemblies. Copy to Clipboard items in the farm, and Paste into your project. Items like Line Styles are brought in by Copy and Pasting drafting views.
9. Manage BIMLocker
This button brings up the managing portal for your version of BIMLocker. BIMLocker is your own content library, using our unique QARC Content Browser technology.
PERSONAL is designed for individual users. There are versions for bigger practices, WORKGROUP & ENTERPRISE.
10. Support
The Webpage button is self-explanatory. The Email Support button will begin an email dialogue box within your default email program. This email will be directed to our support team for any concerns you may experience with our software. Please note we don’t offer advice on using Revit, the program. Store button takes you to the POS (Point of Sale).
Being cloud based, QARC4Revit depends upon a connection to the internet.
It takes around a minute for QARC4Revit to load when you open a Revit session. Put the jug on!
It helps if you set up an Autodesk A360 account and be logged in.
It takes around a minute for QARC4Revit to load when you open a Revit session. Put the jug on!
It helps if you set up an Autodesk A360 account and be logged in.

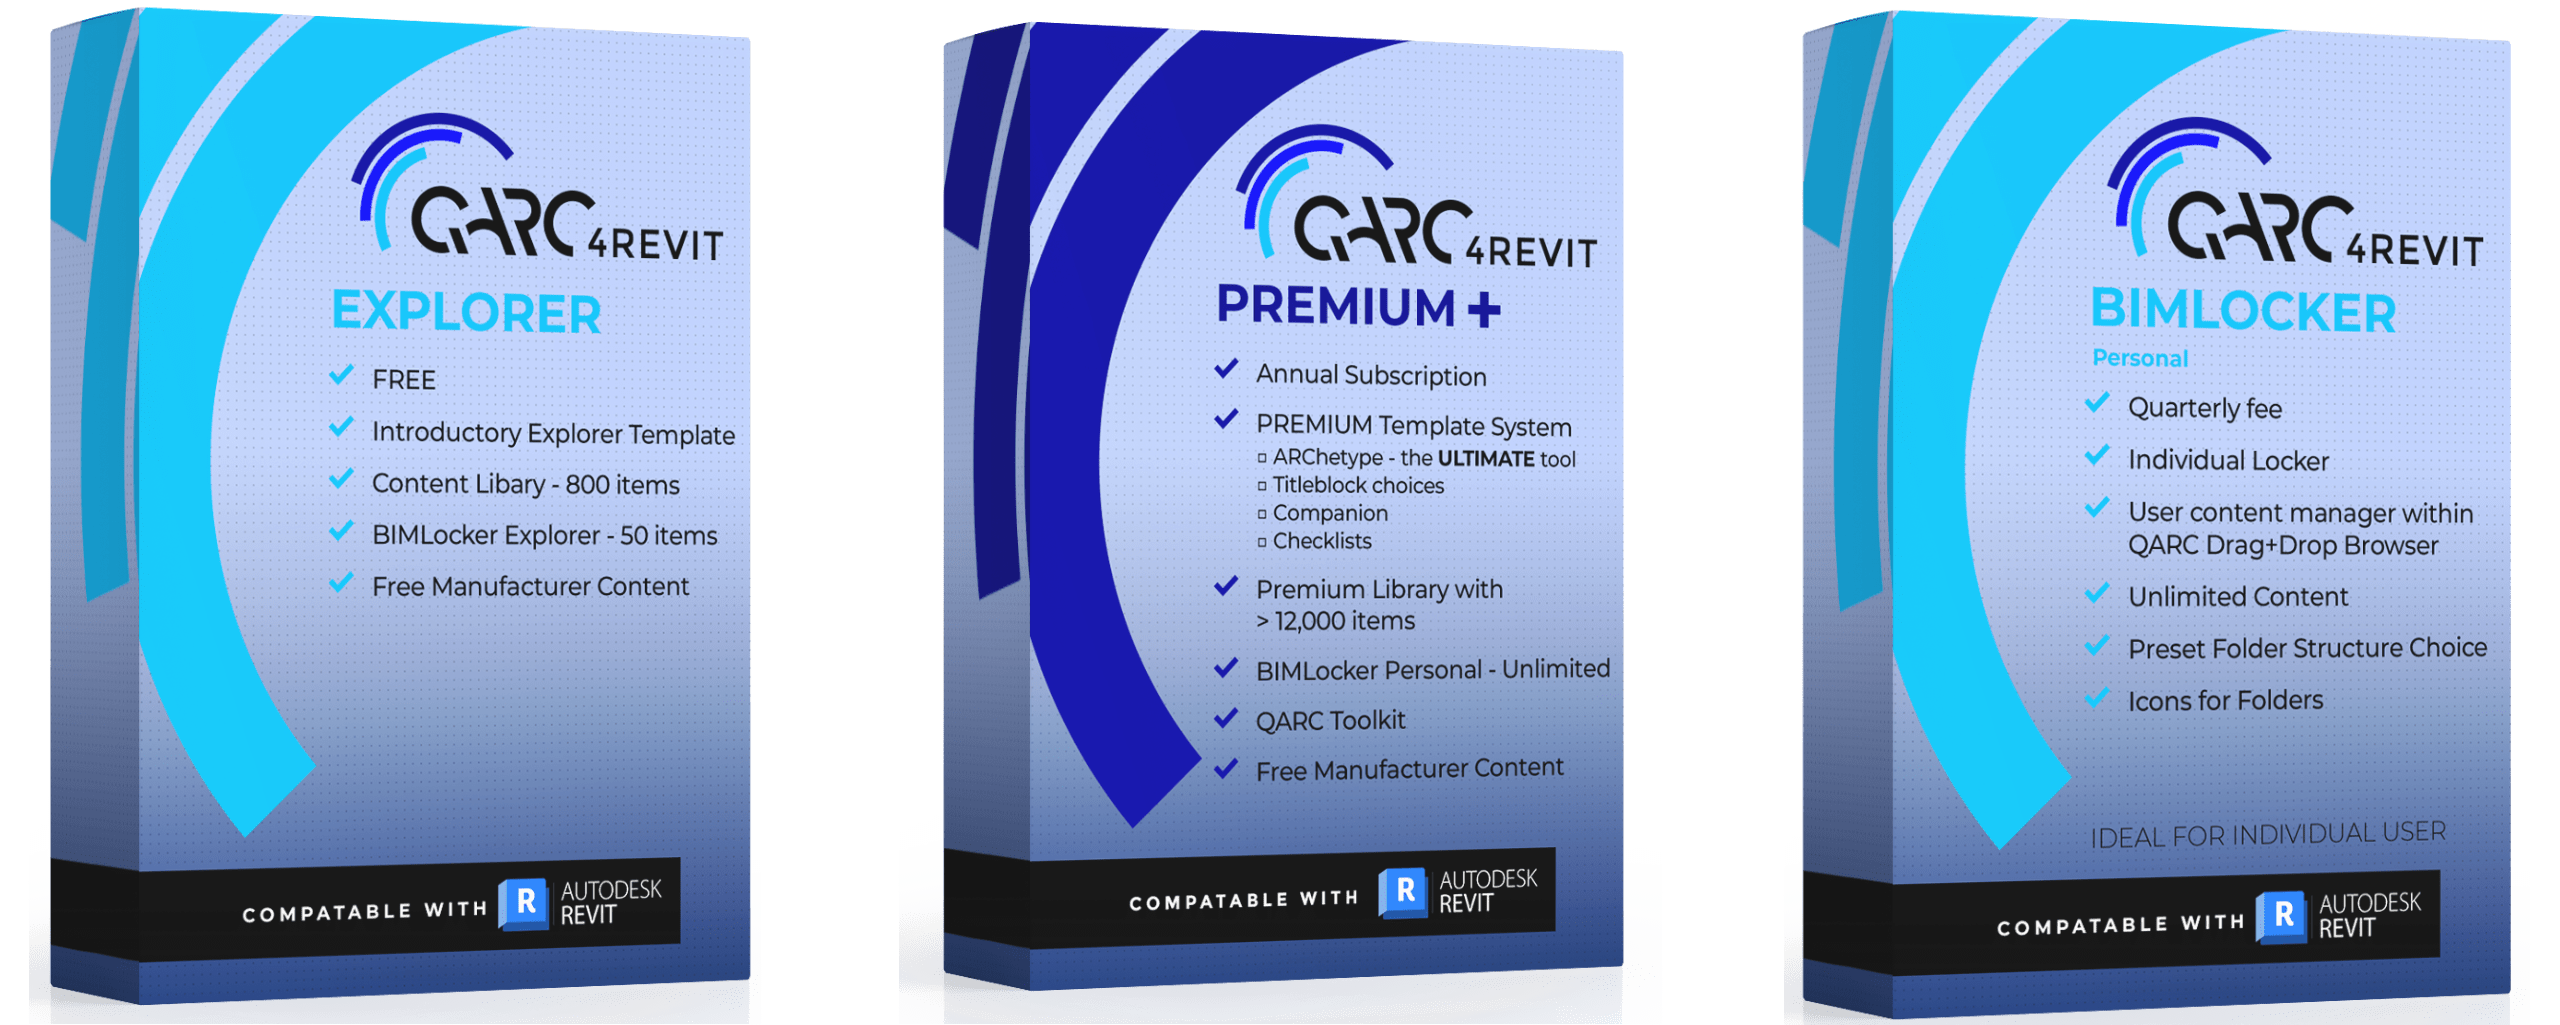
QARC4Revit comes in 3 versions:
QARC4Revit Explorer (Free)
A basic template along with an 800 library of Free BIM content. A test version of BIMLocker is included. That may be why you have ended up on this page.
QARC4Revit Premium+
Our Ultimate ARChetype template system that contains everything you need to document like a pro, along with our Premium BIM Content. The ARChetype template has many sheets (over 300), views and functionality pre-arranged, with instructions, to ensure you can design and document to the highest standard. The BIM Content has over 12,000 items, a lot, both Families and System Families, all within Revit as Drag+Drop. Premium+ has the added benefit of BIMLocker Personal.
QARC4Revit BIMLocker This is your own library, using our unique Drag+Drop technology. We provide three versions, Personal, Workgroup, Enterprise. Workgroup suits a small practice, while Enterprise is a BIM Manager’s ideal content manager.
Manufacturers content, made by us, is provided in all versions.
To obtain Premium+ or BBIMLocker, visit our Point of Sale site to purchase. Or click on Store in the QARC ribbon.

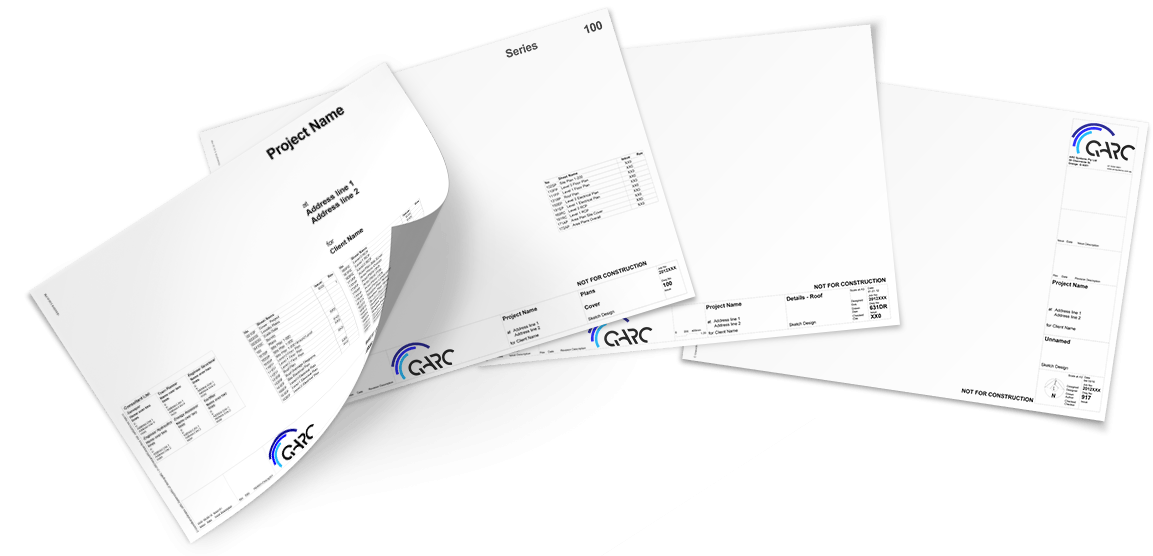
Premium subscribers have a number of different choices in Titleblock layouts.
Please ensure that you have completed the Titleblocks form on our website to advise which Titleblocks arrangement you would like.
The QARC4Revit Titleblocks are highly functional and are integral to the system which is why you should select one of the pre-arranged layouts.
Or ask us to customize them for you, for a fee. Check it out here.
Our Titleblocks are manually created and will be delivered by email ASAP after receiving your Logo and company details.
Please ensure you have sent us a high res logo image in png/jpeg/tiff formats, 300×300 pixels is optimal for this purpose.
QARC Systems is continually making generic content for your use. Expect to see regular notifications of new content that has been created and lodged in the cloud.
In addition, QARC Systems is seeking out manufacturers who wish to have their content created and hosted by QARC Systems. Should you wish to see a specific product or range from a manufacturer, use the “Email Support” button to let us know and we will contact those manufacturers to let them know designers want their content to be delivered by our plug-in.
In addition, QARC Systems is seeking out manufacturers who wish to have their content created and hosted by QARC Systems. Should you wish to see a specific product or range from a manufacturer, use the “Email Support” button to let us know and we will contact those manufacturers to let them know designers want their content to be delivered by our plug-in.
1. Keynoting
A keynotes file has automatically been lodged after creating your ARChetype project file, onto your C: drive within the Autodesk Materials folder. Using the Revit keynoting function, you can quickly add keynotes to any material or object, which will then populate the Legend on sheets.
2. Materials
Materials bitmaps come with downloaded BIM content and are placed on your C: drive where Revit expects to find those images.
If QARC4Revit stops operating, try shutting down Revit and reopening. We have found this solves most issues. Otherwise use the Email Support button in the QARC menu ribbon.
Please note that by installing QARC4Revit you have agreed to manufacturers contacting you if you use their content. For the full T’s & C’s go Read Here

